25 November 2015

New floors for everyone!

Not really. Just us. But they are for most of the main floor of the house, so there's that.

When we bought this house I didn't mind the flooring.

Old flooring

Actually, I still don't, but it does creak and squeak, it's in poor shape, and it is dated. Justin hated it. So, out it went. We opted to replace it with a fairly neutral Maple hardwood by Lauzon, a Canadian flooring company. The colour is "Macadamia".

Lauzon Maple "Macadamia" hardwood flooring

It's modern but classic. I absolutely love it!

Before we could install it, the old had to come out. It took about 6 hours to get it all out and into the trailer.

Justin starting demolition

The next thing was screwing the subfloor down. When the house was built, it was just nailed down which is why it squeaked. Once everything was screwed in place, the squeaks were gone and the floor was silent! (Win!)

The hardwood had to acclimate in our home for at least 48 hours before installation, but in the end it sat for almost a week. All 27 boxes. Just chillin in the dining room. This step is important to avoid shrinkage or expansion problems down the road.

All the old flooring out

We started installation on the weekend, and although it hasn't gone totally smoothly, I'm still totally smitten with how things are looking! We have a loooong way to go on this, but I can't wait to show you. 

24 November 2015

Painting the ceiling

One of the things we’re doing that I didn’t mention in my initial post about the upcoming renos is painting the ceiling. It was kind of an after-thought, to be honest. I’ve hated the ceiling since day 1, but Justin kind of likes it. Scraping all that plaster would be a bear of a job, and drywalling over it would be expensive and lower our ceilings a bit, so Justin won this one and it’s staying (for now). Painting it was also a lot of work, but considerably cheaper and easier than the other options. It also covers up the years of grime that have accumulated up there since you really can't clean textured ceilings. The general dirty look is one of the biggest reasons I hated the ceiling so much.

Now, if we were smart, we would have painted the ceiling BEFORE we painted any of the walls. But clearly that didn’t happen, so we had to protect the walls before we could paint. The floor didn’t matter, except for the stairs and landing, since we're down to subfloors right now anyway. I’d say it’s probably prudent to protect the walls no matter what if you’re painting a textured ceiling. It requires such a thick roller that the paint kind of flies around. There was a fine mist of white paint covering everything when we were done, and you don't want that on your walls.

To protect the walls, we started by running a line of tape along the top. We used delicate Frog Tape for the walls that have been more recently painted just to be safe, and regular Frog Tape for the walls that haven’t been painted yet.

Taping the walls before painting

Then, we taped plastic sheeting to the tape line to protect the walls. The reason we didn’t just go straight to that step is that we knew it would be harder to tape the plastic in a neat, straight line up against the ceiling.


Plastic on the walls

The plastic static-ed itself to the wall well enough that in most places, I didn't bother taping the bottom. It wasn't flying around at all.

We protected the walls the day before we painted, so I cut the doorways out and taped the plastic to itself so we could get in and out. When it came time to paint, it was easy to take the tape off and let everything fall back down. This super-terrible cell phone pic shows kind of what things looked like:

Plastic in the hallway

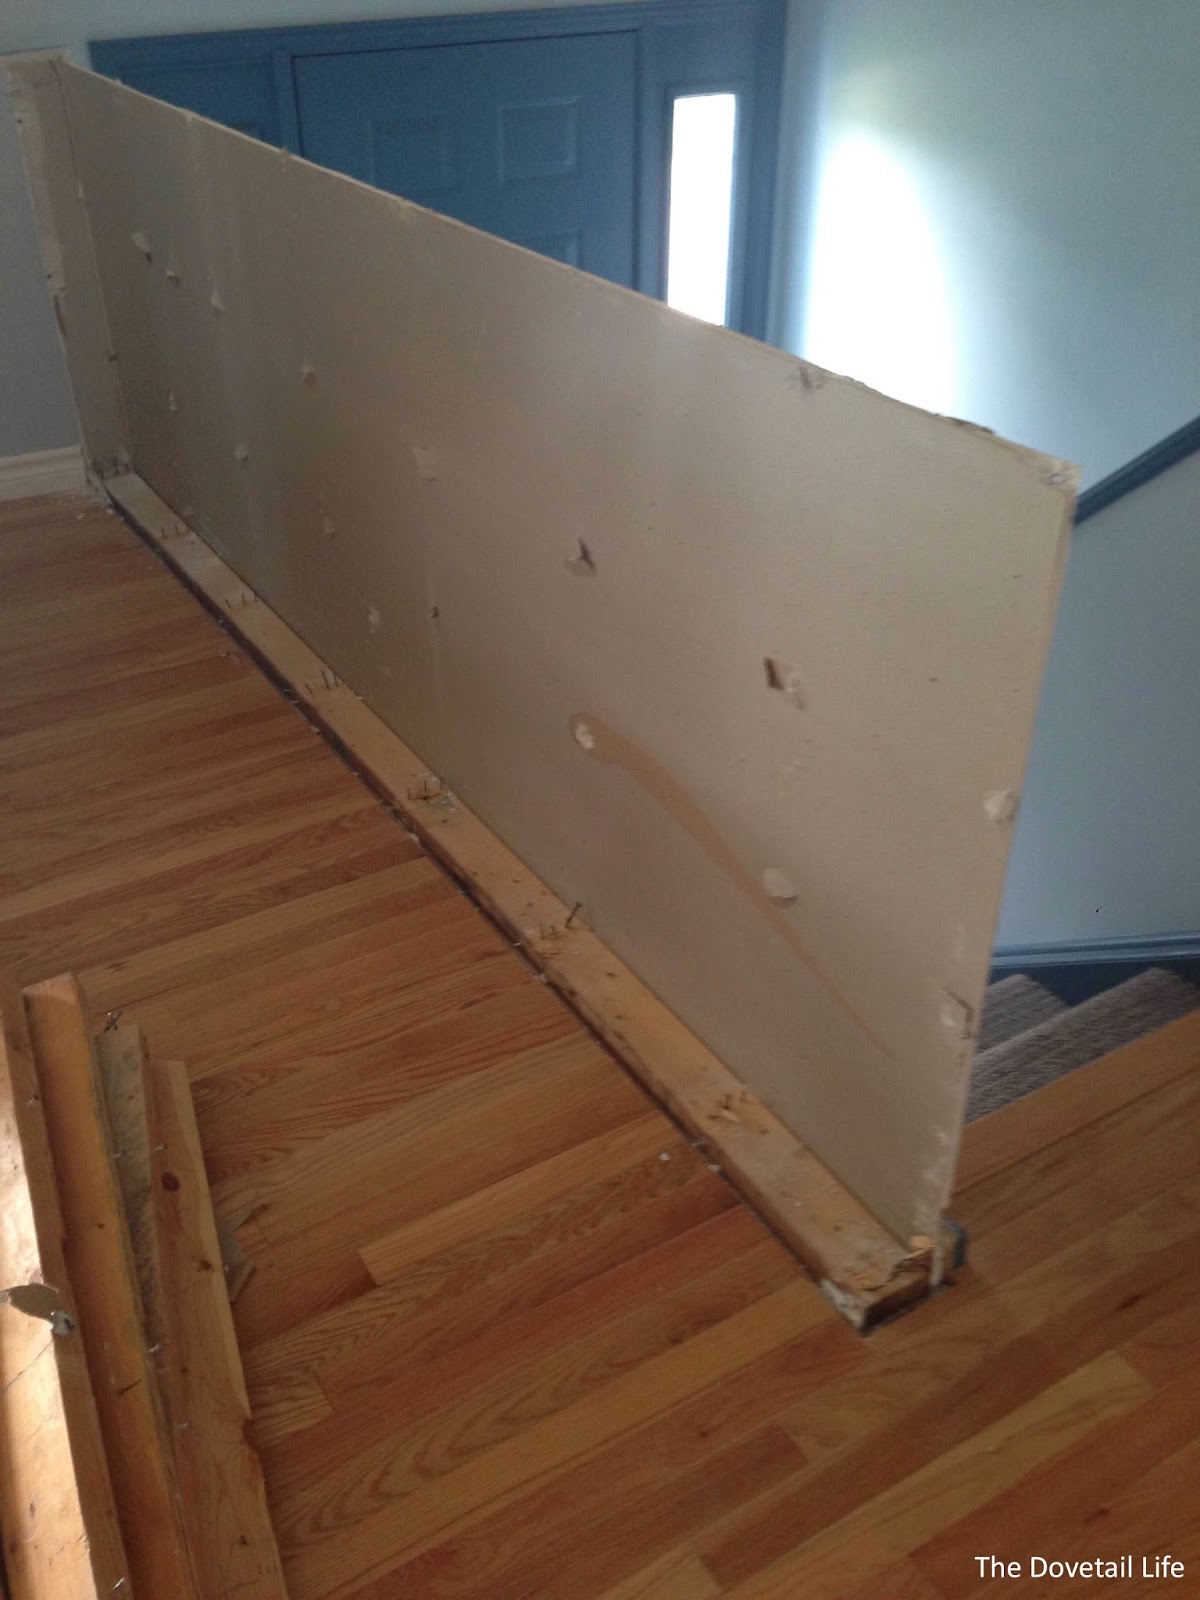
Right before we painted, we tackled the stairs and landing. The plastic is slippery so we didn't want to be walking on it for any longer than possible.

The very last thing we did was take down the light fixtures. I bagged the dining room one, but it really wasn't necessary so I left the hallway ones alone. It was nice to be able to leave them on and take advantage of the light since we were painting in the evening.

Finally, after all that, it was time to paint! We used Zinsser Odorless Oil-based stain blocker and primer, which can be used without a top coat as a ceiling paint as well #winning. The downer was that it wasn't really odorless, which was to be expected really. It could have been much worse.

Zinsse odorless oil-based stain blocker

We went with oil-based since we’re not sure what type of finish is on the ceiling now, and we know it will stick to anything. I bought a brush specifically for oil-based paints, and we used a ¾ nap roller. I did the cutting in, and Justin did the rolling. The key thing here is that once you’ve painted an area, you can’t go back over it otherwise you risk pulling the texture down.

I did the cutting-in through the day and Justin rolled that night. You can see what a difference it made, pretty much immediately:

Half-painted ceiling

We only ended up doing 1 coat on the main ceiling, but I did the edges twice. The paint didn't go on quite as thickly with the brush, so you could see where the roller had gone over top of it after the first coat. The second coat fixed that right up.

The difference is absolutely incredible! The ceiling is so bright! I think once the darker floors and chunky white baseboards are in it's going to look really good.

Admittedly, we still haven't done the part directly over the landing - Justin left the tall step ladder at work, so that will be a project for this coming weekend. I'll show you pictures of the whole thing once it's totally done. It really never ends... but this is the first major step towards getting this reno done, and if anything, we're even more excited now!

20 November 2015

Updating the spare room

Before all the crazy started, I got the spare room "done for now". And no sooner had I taken the photos did we have all the furniture moved out and our living furniture moved in to make a den of sorts while our living room is out of commission. As soon as the new floors are in, I'll be putting all the furniture back so the work wasn't lost.

Let's start with a before, shall we? Boring beige walls, like everywhere else in the house, a twin bed, and not much else. It needed some TLC.

Before picture

As soon as I had the first coat of paint on, I knew I was in love. It's so warm and rich and darker than I would usually go for. It's Para Lifestyles Film Festival. This room is incredibly bright and I knew it could handle it.

1st coat of paint

The only new thing I purchased for this room was the desk chair, for a total of $3 at the thrift store. I was originally going to paint whatever chair I bought red, but I kinda liked the blue once I got it home. It's in rough shape, but so is the desk that I dug out of my parents storage room. We got a new mattress for our bedroom so we put our old one in here. This room will hopefully be a nursery some day, so there wasn't much point in investing a lot of money in it.

Second bedroom after

Other side of spare room

Chest of drawers beside the bed

Ignore the dust and fingerprints on my laptop in this picture (and the old walnut chair borrowed from the keyboard in the living room). I didn't notice it until I uploaded everything, but I love how the photo shows the light that streams into the room in the afternoon.

Close up desk top

Yep, I think it's all quite an improvement from where we started. I love it!

Artwork over bed

19 November 2015

Ch-ch-ch-ch-changes

We’ve been in zee blue house for 4 (FOUR!!!) months already. We’ve made some small changes in that time (a few I haven’t shown you yet…sorry!) and it truly does feel like home. BUT, we have a looong way to go to make it into the dream home we imagine it can be.

When we bought this place, we came into it with a “slow and steady” approach. We were taking on a slightly larger mortgage and almost doubling our property taxes, so we were trying to be cognizant of our wallets. Now that we’ve had a few rounds of bills, we have a much better sense of what we did in fact get ourselves into, and where we can reasonably afford to spend some cash. And so, we’ve decided to start on some of our larger projects a bit earlier than originally planned. I am SO, SO excited about it!

So, what are our plans now? Maybe gutting the kitchen or any of the 3 hideous bathrooms? A deck? Fence? Fixing our death trap front stairs? Nope.

Windows, doors, flooring, trim. Boom. (And, please don't mind some of the photos in this post. I know they're worse than usual. A lot of them are iPhone pics shot hastily in the middle of doing other things...SO MUCH TO DO!)

We’ve chosen these things for a few reasons:

When we toured the house, we noticed immediately that the windows needed to be replaced. We believe they’re original, about half of them don’t open, and the seals are broken in almost all of them (so the glass is foggy). Replacing windows is no one’s idea of a good time (hello spending $$$ on something you don’t necessarily notice), but I’m actually pretty stoked. What we chose and why is a post for another day, but I think the new windows are going to be bee-you-tee-full!

The living room window, which doesn't close properly

Along the same theme, our front door is literally falling out of the opening. It’s also the most heinous blue (it looks grey below, but the trim in the above is a more accurate colour...inside and out) and opens really awkwardly onto the landing inside (it swings the wrong way and basically dumps you into a post between the stair cases). It has always been near the top of the list to be replaced, we just never made it into the store to pick it out.

Front door

We also want to replace the interior doors. They are...not nice. This was one of the first things we did in our old house and it totally changed the feel of the entire place, so I can’t wait to do it again! I’ll outline what we chose and why in another post.

Close-up interior door and knob

Now, flooring might seem an odd choice when the flooring we have is technically OK and we have other big projects ahead of us. This is absolutely valid, and flooring was kind of the last thing on our list for this round (and honestly, the window quote determined whether or not it would be done). It’s kind of complicated to explain why we’re doing it (other than shiny new floors = YAY!), but basically it just makes sense when we're doing doors and trim now and would be replacing the floor in a few years anyway. Oh, and the floor squeaks and creaks like crazy, which can’t be fixed without pulling it out. So…new flooring it is!

Me sitting on the floor

Finally, trim. Duh. With everything else going on this is kind of a no-brainer. And, like the doors, we’ve done this before so we know what a dramatic effect it can have. We’re going with something a little different this time, but I think it will really modernize our home.

Blue trim in our house

Everything we're doing here goes together well, and will contribute to the professionally finished look and feel that we're working towards in this home.  Lots more to come and decisions to be made, but demolition has begun and we're feeling really good!

17 November 2015

This explains so much...

The entire time we've lived here, I've thought that the doors and jambs, and some of the trim, looked...sticky. Or something. I can't really describe it, but they just don't look clean even though they are. They photograph fine, but in person, well, it's another story.

A little while ago, I figured out why.

A really ugly door knob


You see, it appears that the doors and jambs, and the trim that hasn't been replaced, were pretty much all originally that gorgeous blue that still adorns our front entry way (for now...). I cannot imagine how many coats of primer and paint it took to cover all that, but it was obviously done a number of years ago since the white is now starting to wear away.

Ugly trim work


With so many layers of paint on them, it's no wonder the doors have an almost "sticky" appearance. Just one more reason I can't wait to replace them (more on that soon)! The brass doorknobs make me twitchy, too.

A brass doorknob on our closet


I could write a novella on the various issues I have with some of the finishing in this house, but the summary is that our beloved blue house has had a number of owners over 25 years who all apparently had very different tastes and very different skill levels when it came to home renovation. As a result, we have different closet pulls in every bedroom, a couple of doorknob styles (which we have only made worse, I admit, by updating the exterior locks), and at least 2 styles of baseboard. I *think* most of our casing is at least sort of the same... but then there's also the issue of colour. Blue, light blue, light green, green, and white. Oh! And dusty rose in the basement! It's everything but professional looking, which is at the core of every renovation we do.

That's all a story for another day though. In the meantime, I'm just going to continue glaring at the brass doorknobs and the peeling white paint around them and count down the days until they hit the dumpster (foreshadowing...).

16 November 2015

Handmade curtains

I went on a bit of a curtain-making spree.

After we'd been in the blue house a couple of months, I was pretty fed up with the lack of curtains/ugly curtains that covered our windows. I spent a week or so scouring the internet and local stores for something I loved that was reasonable quality but didn't cost 6 arms and 4 legs. We need approx. 90 inch curtains for the bedrooms which means buying the 96 inchers and shortening them. Those extra 12 inches seem to add a crazy amount to the cost.

So, to the fabric store I went! I actually went in there on a mission for material for dining room curtains, but came home with material to make new ones for the office as well.

I started on the dining room ones first. I knew I bought just enough fabric to make 2 panels, so I cut it in half and got to work ironing the sides. I had 1.5 (of 4) sides sewn when my machine started making...questionable noises. And it only got worse. So, in for servicing the machine went putting my curtain making project on hold for about 2 weeks.

Sewing the dining room curtains

But, never fear, I got it back and got them done. And I'm in love! They're just perfect. I'll probably hang a different rod in there at some point in the future, and I've left a large hem allowance to lengthen the curtains at that time if need be.

Dining room curtains

Dining room curtains

Once I got my machine back I also made curtains for the office. You knew I had a general disdain for the ones that came with the house, and I think these blue and white patterned ones are definitely much better! These have tab backs and were a lot more work than the dining room curtains as a result. I was trying to be thrifty with these (the material was on sale) so I didn't want to buy drapery clips, but I think it would have been worth it for the amount of time it would have saved. It's just so much easier!

New office curtains

New office curtains

There's nothing scientific about making curtains for me. Each panel is as wide as the drapery fabric came. Ironing everything is key. I sew the sides up and then sew the top, based on how I plan to hang them. I hang up a panel, pin where it needs to be hemmed and take it down. Then I measure it so I can get a straight hem and sew the other panel the same length as well.

It's a really easy DIY as long as you have a bit of extra material to play with for the length, and while it won't save you a ton of money (unless your material is on sale), it does provide you with a lot more options which is really what it came down to for me this time.

29 September 2015

Phase 1 office reveal

Now, I'm going to preface this post by saying: the office is one of the plainest rooms in our home. It's Justin's space, and he could not care less about decoration in there. But, that doesn't mean I couldn't inject a bit of life into an otherwise beige box. It's the first room in the house that feels somewhat pulled together, and for that, I am very grateful.

Here's where we started:

Office before

Office before

Not great. Very blue. Up close, the walls were...not pleasant. This had been a nursery for the previous owners, and I prefer not to think about what was on there. They were also in terrible condition - nails and screws and holes and peeling paint galore. So, step 1 was paint the place. It's Para Lifestyles Comfortable Chinoise. It's the paint we used in our last house, which means this little update was a freebie. 


Remember, we're leaving the trim and doors as-is for now since we'll be replacing them along with the rest of the trim and doors in the house within a couple of years. It's not cute, but I'm not wasting my time temporarily fixing it. Painting baseboards against carpet = the worst. If you're wondering about the too-short curtains in the progress photo above, I've already addressed that little oops

Once it was painted, the fun could begin. I was working with what we already had. We didn't buy any new furniture (with the exception of the hamper), which meant sticking with the black, white, and light wood we had in our old office. I tried to use blues here and there to add colour without competing with the trim. 


These are some of my favourite things in the room:

The hat belonged to Justin's grandfather and was given to us by his mom a couple of years ago. The blue beer bottle is from a brewery we visited on our honeymoon - QidiVidi


This tape measure was gifted to Justin from one of my uncles. It belonged to his father-in-law, and I think it's super cool (Justin just thinks it's practical). 


I hung a picture of each of our pets when they were babies above the dresser. This may be my favourite detail of all, since I see it every time I walk past the room. 


I am still working on the curtain situation. I don't love these black ones: they're flimsy and I think they look cheap. I bought some great blue and white patterned canvas on sale on the weekend, but while I was sewing the machine started making the worst noise, so I've had to take it in for service (womp womp). 


Overall, I am really loving this room right now. It looks a bit empty in photographs, but in person, it's a really comfortable work space which is really all we can ask for. 

24 September 2015

Progress on the knee wall

After a week of having a wobbly piece of drywall hanging in space, Justin got it framed up this weekend and it's SUPER sturdy.

You may recall, we left off here:


Then Justin did this:


It's just standard framing, and wasn't super sturdy at this point despite being well attached to the floor. So, Justin did this: 


And what a difference it made! It's just a 1/2" thick sheet of plywood that's attached to the framing with construction adhesive and screws. It prevents the wall from bending at all which decreases the wobble. He screwed the drywall back onto the other side and called it good-for-now. 


The next step will of course be drywall, trim, and paint. It was really important for us to get this wall as sturdy as possible because the handrail for the stairs attaches to it on the other side. Even though it's far from finished, it feels a heck of a lot better! I think the plywood may even be an improvement over the blue walls and trim we started with...

20 September 2015

When you assume...

Nothing good happens when you assume. Nothing. Which is precisely why I'm writing this post right now, instead of a pretty, shiny, office reveal post.

With the house, we inherited a few window coverings. Mostly only on the front windows, and pretty much nothing that was actually our style. The living room had 4 fairly neutral grey curtains, that, while nice, just don't suit what we plan for that room and don't match our furniture.


In a moment of genius, I decided to move 2 of them to the office once it was painted. It made sense: the colour scheme in there is incredibly neutral and they're nice curtains that cost us $0 - what a win! Ya, no. See, here's the assumption: 84" curtains fit in the living room, and therefore, they would fit all the other windows. They do not. Exhibit A:


And Exhibit B:


I have since been able to solve the problem with curtains I like even less, but I still really love how the room is coming together (despite the blue trim...I KNOW) and I can't wait to show you!

16 September 2015

Why we ditched cable and how we feel about it 3 months later

Minimalists we are not. Frugal, mindful of how we spend our resources, and keenly aware of what we consume, yes. So, when we started considering life in our new home and planning the move, we took a hard look at some of the "extras" we'd had in our old house. Cable television came out on top as something we really didn't need, or really even want. We cancelled it when we called to change our address with our TV and internet service provider, and instantly, it was gone. Just like that.

We'd planned for this. We subscribed to Netflix a few months before, and ramped up our internet service at the same time. We also have Shomi since our internet is with Rogers.

In the 3+ months since our TV went dark, so to speak, we really haven't missed it. Sometimes I miss the 6 o'clock news that I used to listen to while I made dinner, but that's really it. Netflix has more than enough to keep us entertained, and in case it's not enough, we can flip over to Shomi. A couple of months ago we bought an Apple TV to make streaming easier (previously we were using our old Playstation), and it comes with some of its own content as well. It's super easy to use, and for $89 I highly recommend it! We were not watching enough TV to justify the $70/month cable was eating up. Ditching it was the right choice for us. We don't want staring at the tube to be a mainstay in our lives, which is also why our TV will probably always be tucked in the corner rather than prominently hung on the wall.

For what it's worth, we also don't have a home phone. Aside from internet, we don't have in-home services at all and we don't want them.

This is our view now. This is what we gaze at out our front window every morning and where we spend our time. It's so much better than TV.


15 September 2015

Building in a new knee wall

This weekend, we got started on our first major (?) project in the blue house: rebuilding the knee wall that separates the entry way and living room at the top of the stairs. This poor-quality photo shows the wall I mean:

Knee wall

It’s wobbly and covered in blue trim with peeling paint. Initially, we were just going to fix it, paint it, and call it a day. BUT, then we thought we could do built-ins here and we decided we might as well just replace it instead. We've since changed our minds, kind of, and now we're just going to rebuild the wall entirely, trim it out to match what we'll eventually do throughout the house, and probably build-in a TV stand on the left. We considered replacing it with a railing to open things up, but I didn't want to see the TV through the railing the minute you walked through the door.

Partially ripped apart wall

This photo sort of shows what was keeping this wall stable: a LOT of nails. I'm sure it was solid when it was first built, but over time, things loosened up - a lot - which was sort of problematic since the hand railing for the stairs attaches to this wall. 

Justin taking things apart

I wish I had a beautiful after photo for you, but I don't. This is real life, which means that sometimes things don't happen quite the way we imagine. In this case, quite truthfully, the weather just sucked and we weren't motivated enough. The cold I seem to have come down with didn't help either.

The pulled apart wall

BUT, it's still progress! Do you have any idea how exciting it was to take the first bit of drywall OUT of this house! Ah-mazing! Things are starting to happen. Very, very slowly.